(This article is on masks for personal use. If you are interested in making masks to help professionals and others who need emergency alternatives to N-95 masks, please click here.)
The CDC recommends wearing cloth face coverings in public settings where other social distancing measures are difficult to maintain (e.g., grocery stores and pharmacies) especially in areas of significant community-based transmission.
We’re posting information here not just on how to make masks, but also how to use them. Homemade masks can help, but they cannot provide 100% protection. The links here are from government sources, hospitals and medical professionals, representing their best information we are able to provide. This is not a substitute for being aware of the latest guidance which may come out.
Latest CDC Guidelines: Recommendation Regarding the Use of Cloth Face Coverings
Wake Forest Baptist Medical Center: The type of cloth in homemade masks makes a difference.
The best-performing design was constructed of two layers of high-quality, heavyweight “quilter’s cotton” with a thread count of 180 or more, and those with especially tight weave and thicker thread such as batiks. A double-layer mask with a simple cotton outer layer and an inner layer of flannel also performed well, he said.
The inferior performers consisted of single-layer masks or double-layer designs of lower quality, lightweight cotton.
Making a very basic mask with fabric and rubber bands (CDC): YouTube Video
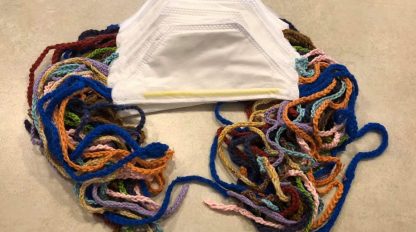
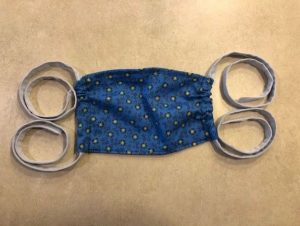
How to make a simple mask without elastic:
 Materials:
2 pieces of fabric, 6”x9”.
6” piece of pipe cleaner
2 ties, each about 1 yard long (I used homemade ½” bias tape. If you need a bias tape maker, Pastor Brian can 3-D print one for you.)
With right sides together, stitch along the short sides of the fabric. These are the sides of the mask.
Stitch along one long side, beginning and ending ⅝” inside the side seams. This is the top of the mask. Center the pipe cleaner along this seam and secure it with a zigzag stitch. Clip the seams and turn the mask right side out.
Turn the edges along the bottom of the mask inside and stitch together, beginning and ending ⅝” inside the side seams.
Stitch along the sides ⅝” from each side, creating channels for the ties.
Thread the ties through the side channels.
To wear, first fit the top of the mask to the bridge of your nose using the pipe cleaner. Tie the top ties behind your head above your ears. Tie the bottom ties behind your neck, allowing the sides of the mask to bunch up so that it has a snug fit around the edges.
DIY Face Mask with Ties, Fitted Nose and Filter Pocket: YouTube Video
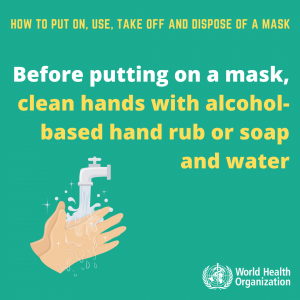
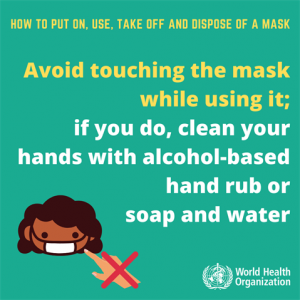
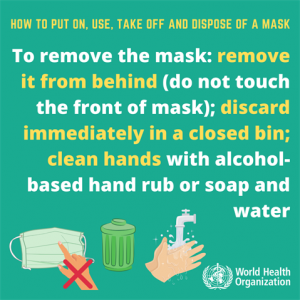
Wearing and handling masks safely: (from the WHO website and NPR interview with Dr. Daniel Griffon at Colombia Univeristy)
Griffin says to think of a mask as like underwear: It needs to be washed after each use.
“You don’t take this dirty mask off, put it in your purse and then stick it back on your face,” he says. “It’s something that once you put on, is potentially either touching your coughs, sneezes or the spray of your speech, or protecting you from the coughs, spray, speech of other people. And now it’s dirty. It needs to basically be either discarded or washed.” So if you’re wearing a cloth mask, put it into the laundry basket immediately. If it’s disposable, throw it away.